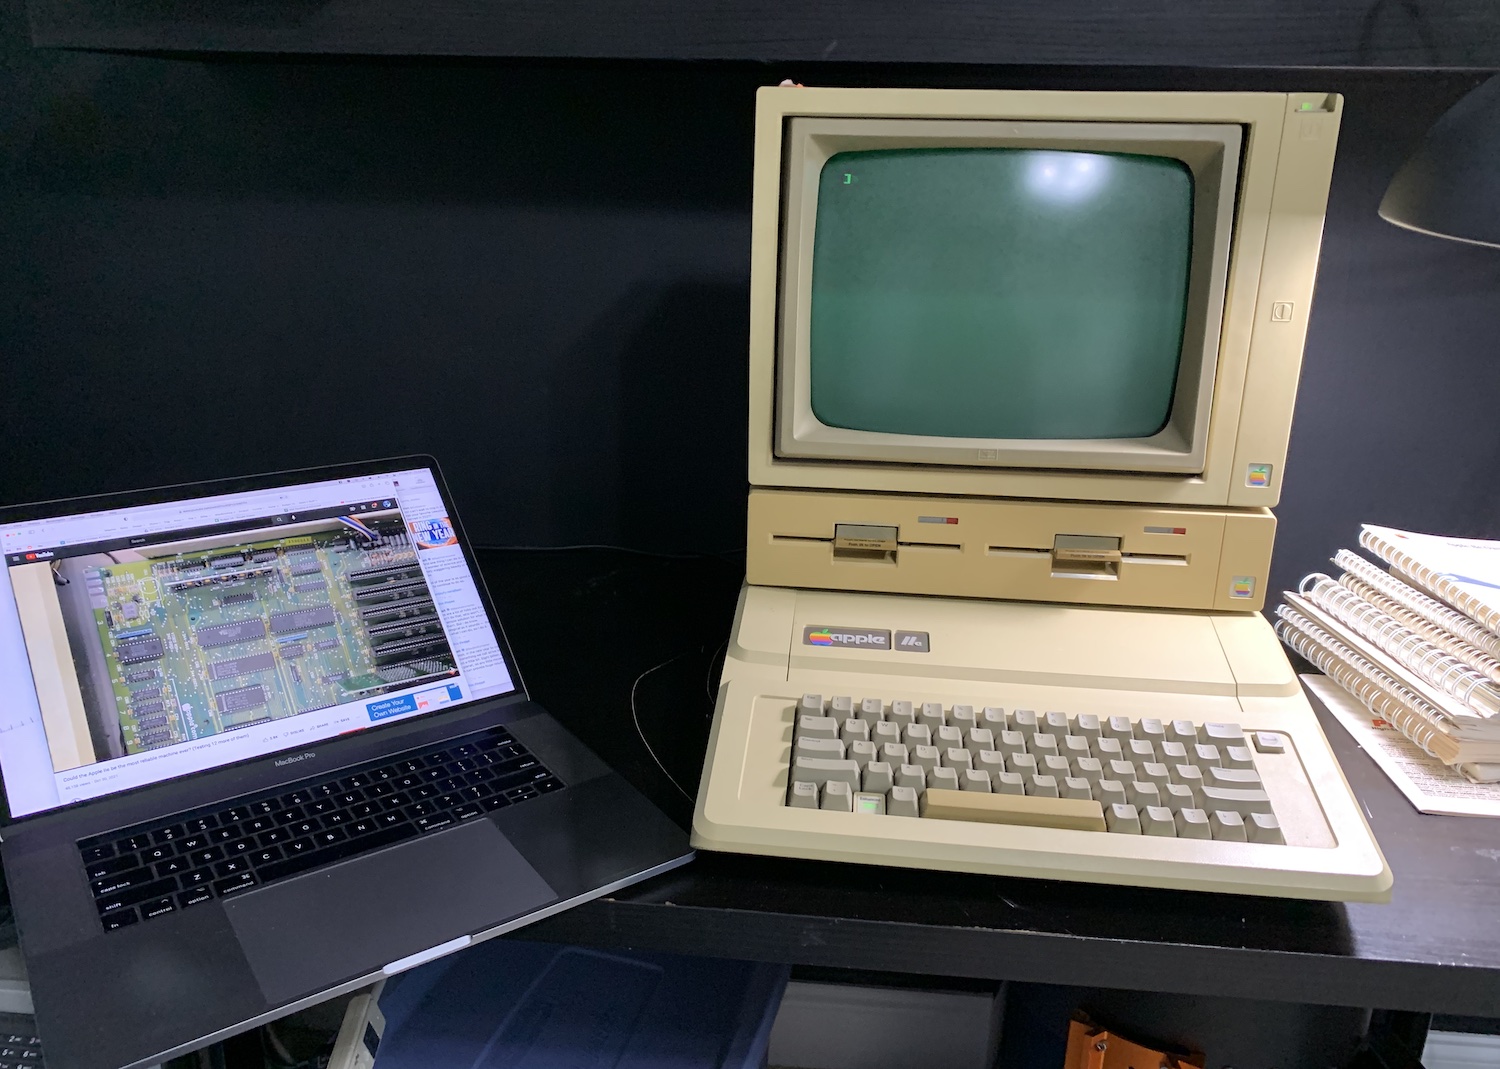
Just before Christmas I adopted an old Apple IIe from my friend Brian. After bringing it home and setting it up everything looked great. There was no major exterior damage, breaks or scratches, and taking the cover off I saw the motherboard looked perfect, albeit a little dusty, which wasn't surprising since it was almost 40 years old. Brian mentioned he thought the disk drive had some issues so I would have to look into that. The display and system powered on, and I heard the beep indicating a successful boot then saw the AppleII text at the top of the screen (the italicized II indicates it's the Enhanced model, the original model reads Apple][ with the square brackets).
Specs
The successor to the Apple II and Apple II Plus, the IIe came with a 1Mhz processor and 64KB of RAM built right into the board. Most of the chips on the board had a manufacture date of early 1985, so I'm fairly certain the build date was around the same time. This particular system came with the memory expansion card, bringing the total up to a sizeable 128K. It has the dual 5 1/4" disk drive, and sitting on top of that, the monochrome Apple display. It's also equipped with a Super Serial card, allowing the use of a mouse, modem, or ImageWriter printer. I do prefer the look of the older black aluminum disk drives to the single unit drive here, but beggars can't be choosers.
Figuring out what's wrong
The system also came with a big stack of 5 1/4" floppy discs, mostly AppleDOS utilities and some labeled "Work Files". I popped in the Intro to the Apple II disk and the drive immediately started reading it however almost instantly crashed and output a bunch of garbage characters that looked vaguely like memory address information. I knew the disk could be bad, but my gut told me the drive was okay, and it also could be something else entirely. I tried another disk with almost the same results. Tried a few more and started to think that it probably wasn't the disks - the odds that all of them were bad wasn't 0, but I doubted they had all failed.
The last time I played with an Apple II was probably around 1993, so I vaguely recalled that there was some kind of self diagnostic built into the system, but I couldn't remember how to run it. After some searching online, I found that if I hold Open Apple, Closed Apple, Control, and Reset it would force the system to run a hardware check.
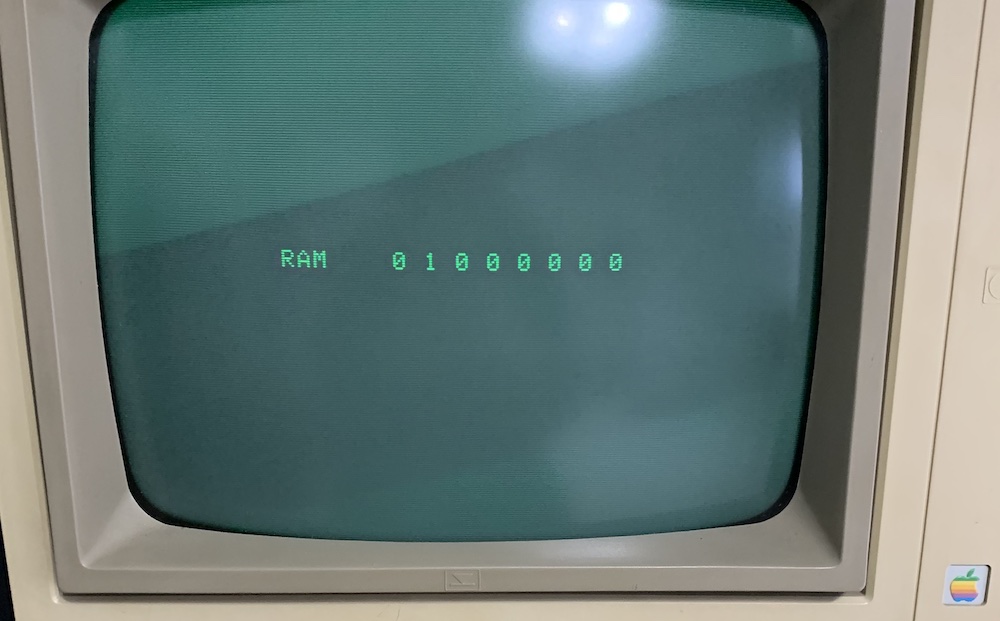
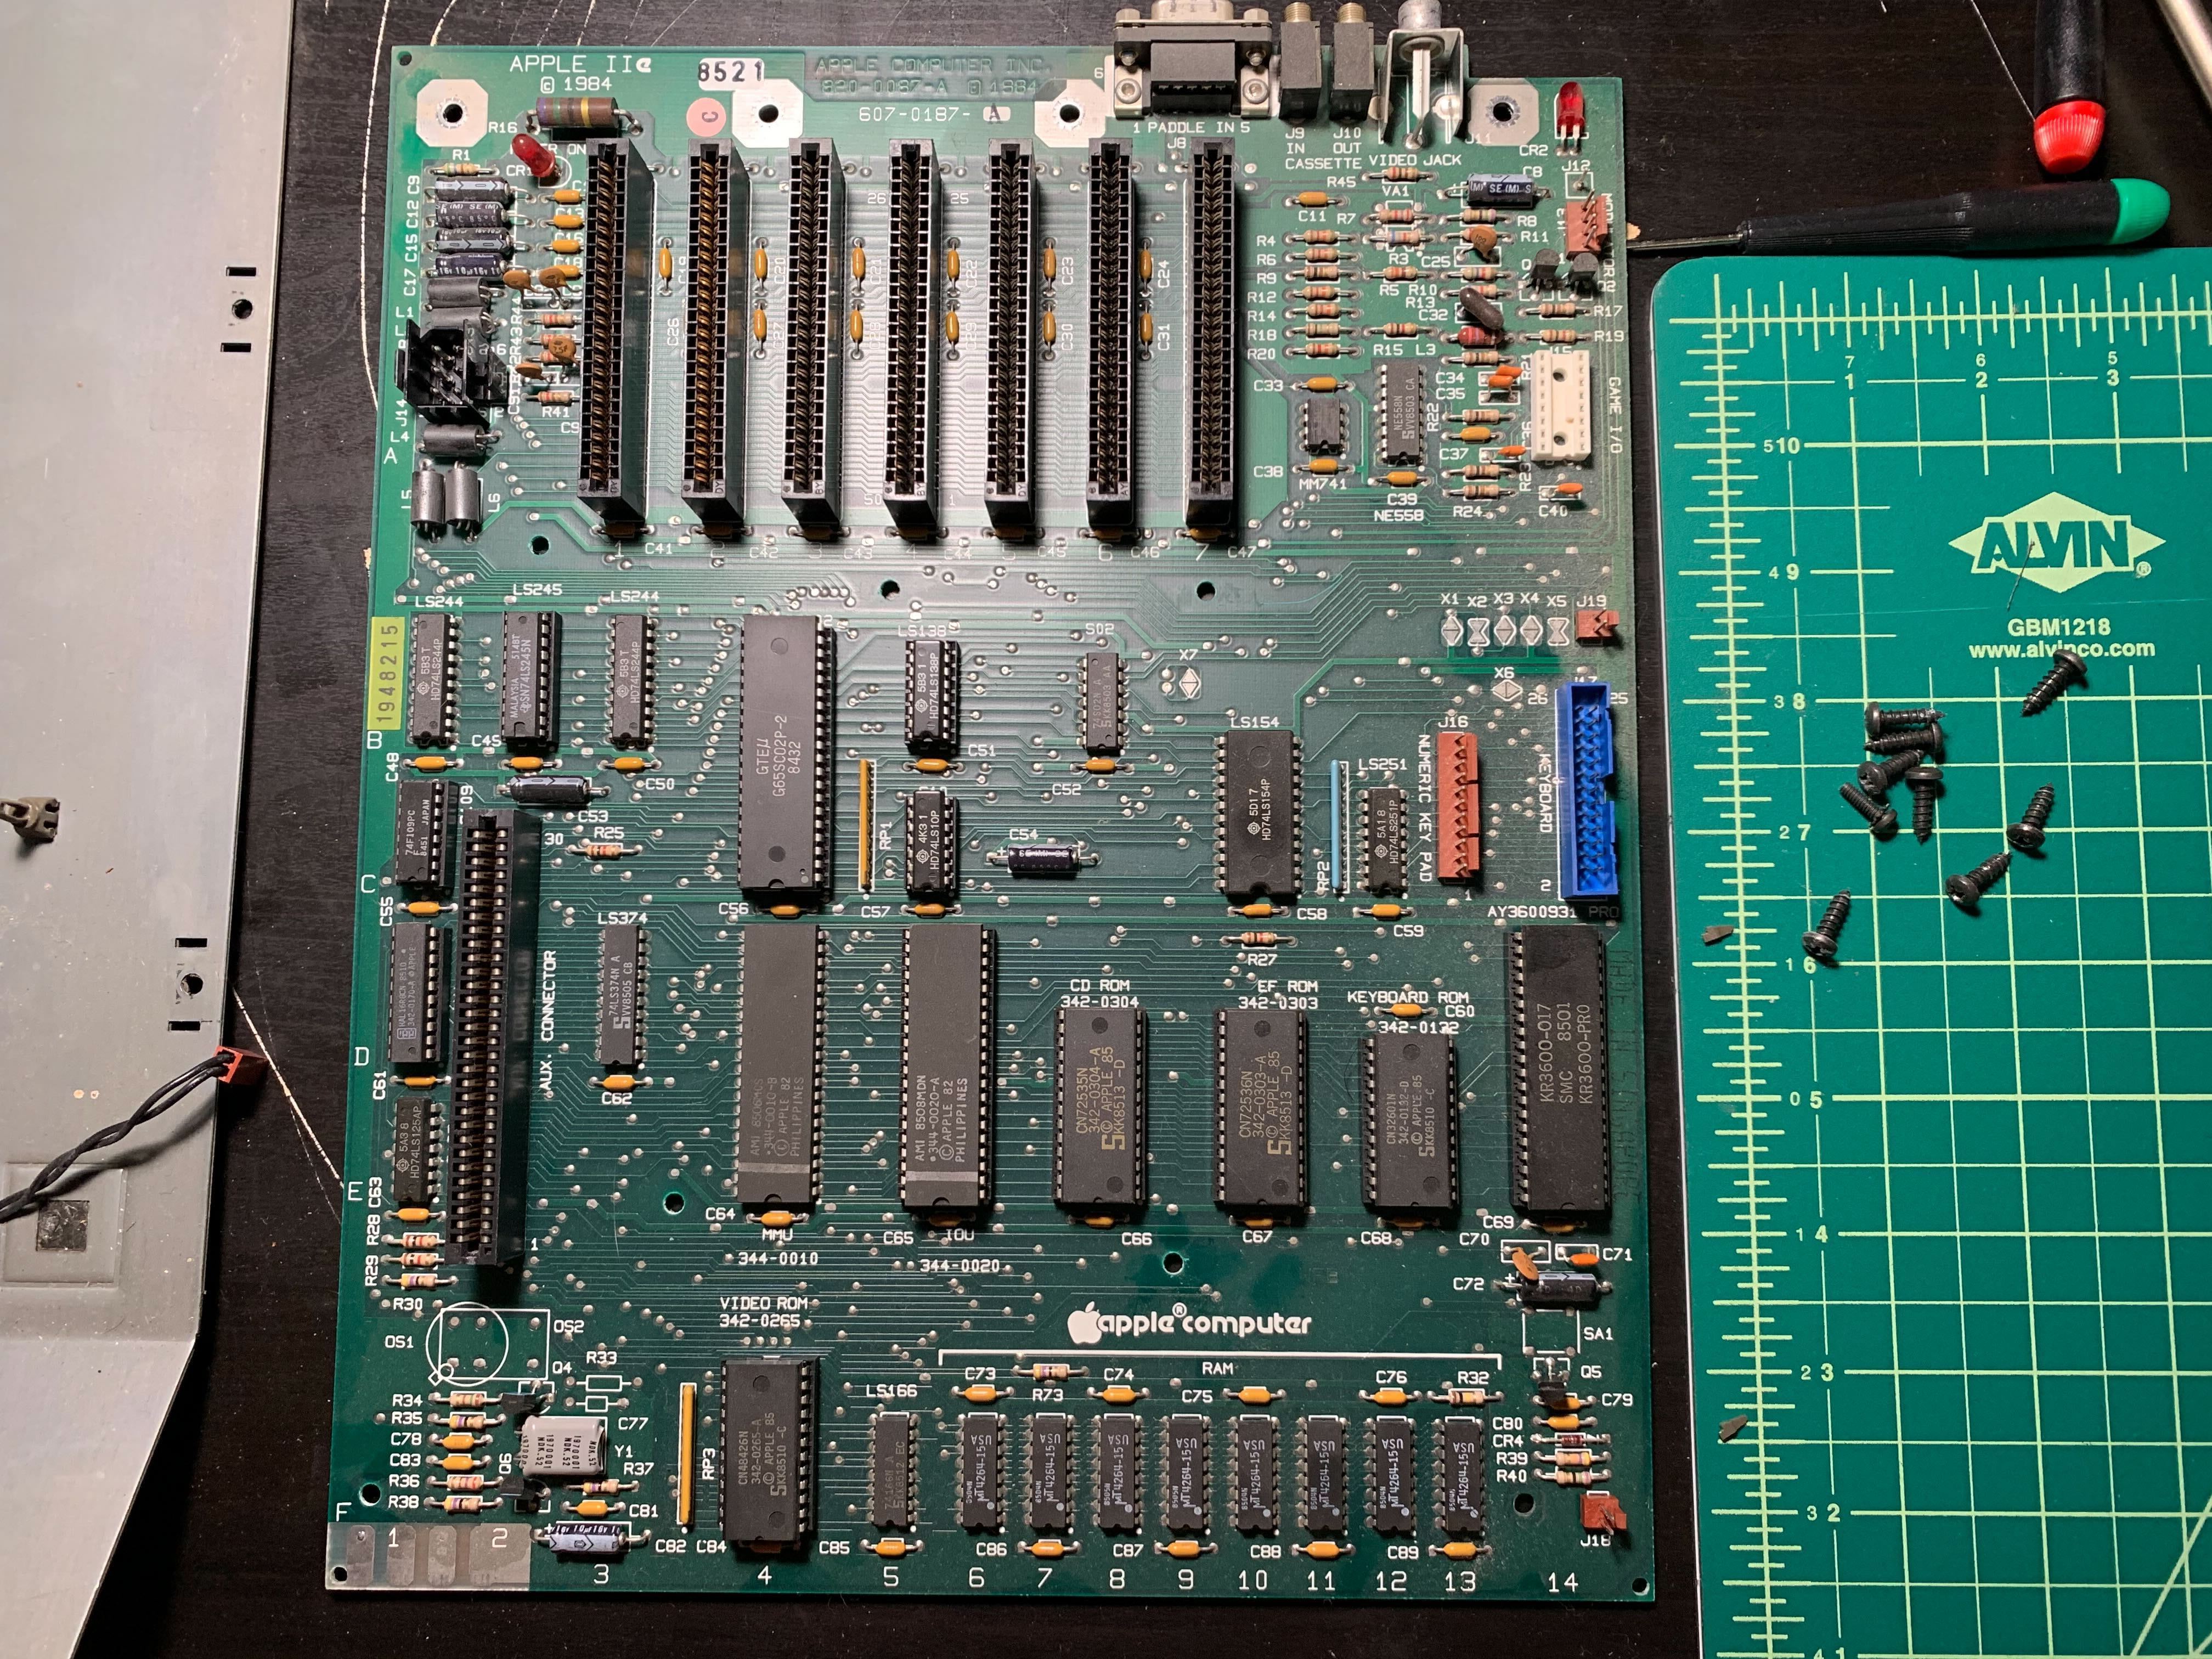
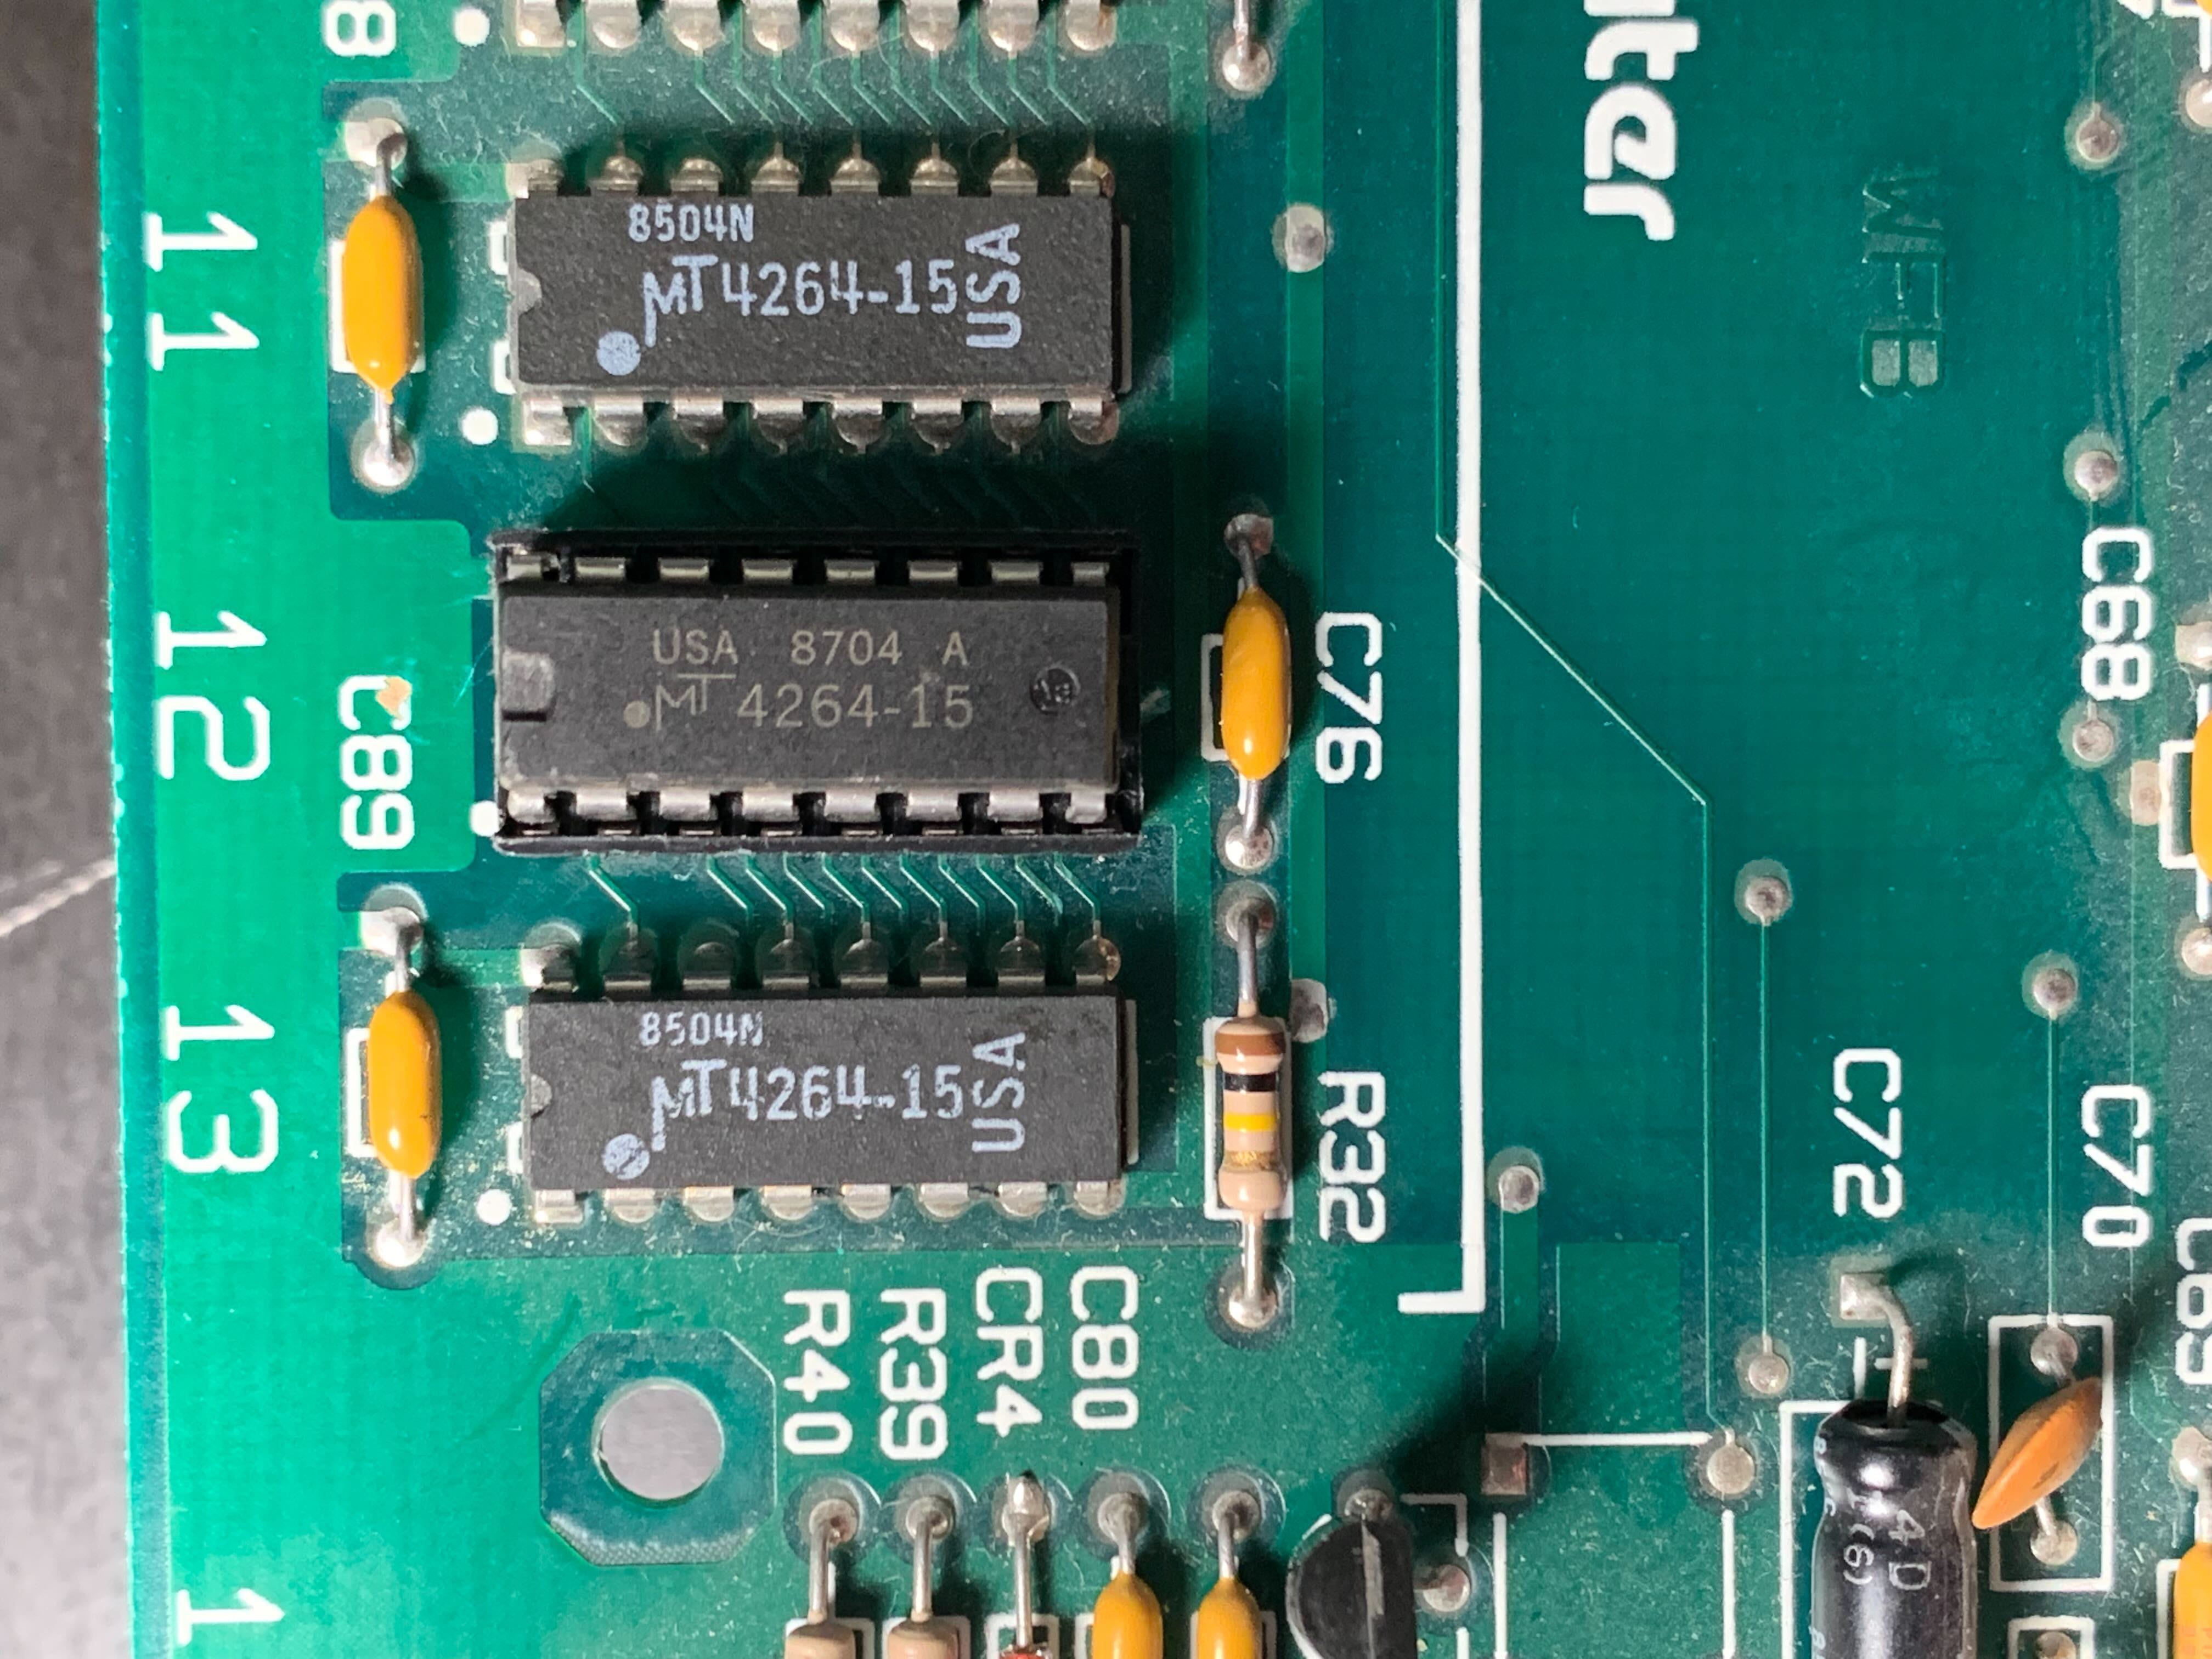
I rebooted the system holding down those keys and almost immediately the check failed with an error of "RAM 0 1 0 0 0 0 0 0". This meant that one of the RAM chips failed, which was a common problem for the MT chips from that era. After some more research I found that the error code was actually backwards compared to the chip layout on the board. The chips are all in line at the bottom of the board, in slots 6-13. This means the failed chip was NOT in slot 7, but in slot 12. Unfortunately this meant I would have to desolder the chip to remove it and replace it with a new one.
Thankfully I was able to order 10 "new" chips for about $4 from eBay, however they were shipping from China, so I had some time on my hands. Since I was about to take a soldering iron to the motherboard, I decided to solder in a socket for the new chip instead of installing it right on the board, that way if the chip I ordered failed I could just pop it out and swap it with another one. Once the chips and sockets arrived, I removed the case, the expansion cards, disconnected the power supply and speaker, then removed the motherboard.
I marked the bad chip in slot 12 with a sharpie, flipped the board over and marked which pins I needed to desolder, and triple checked everything to make sure I wasn't going to make things worse. Once I was satisfied, I went to work desoldering the chip pins from the underside of the board. It took a while since I was using a braid and not a desoldering gun, but eventually the pins started releasing from the board. After removing the chip I realized that while attempting to pry it out I scraped and broke a trace underneath, so I'd either have to repair the trace itself or use a bodge wire. I don't have the skills for a full trace repair, so it'd have to be a bodge. I cleaned everything up and soldered in the new socket. After that I was able to insert a new RAM chip which was a little difficult since the pins had to be bent inwards slightly, but I knew if I messed that up I still had 9 spares. Finally I had the chip in the socket and seated nicely.
Now onto my mistake - the broken trace. I was lucky that it ran from the chip in slot 13 to the chip I just replaced in slot 12. I could see the entire run right there meaning I didn't have to get out my multimeter and start probing. The run was only about an inch, so I cut a small piece of insulated wire and soldered it in place on the underside of the board. At this point I was pretty nervous because I'd never performed a repair like this before, however I knew it was pretty straight forward and it should work. I cautiously re-assembled everything and trying to convince myself that everything would be okay. My self-reassurances didn't do anything for my nerves.
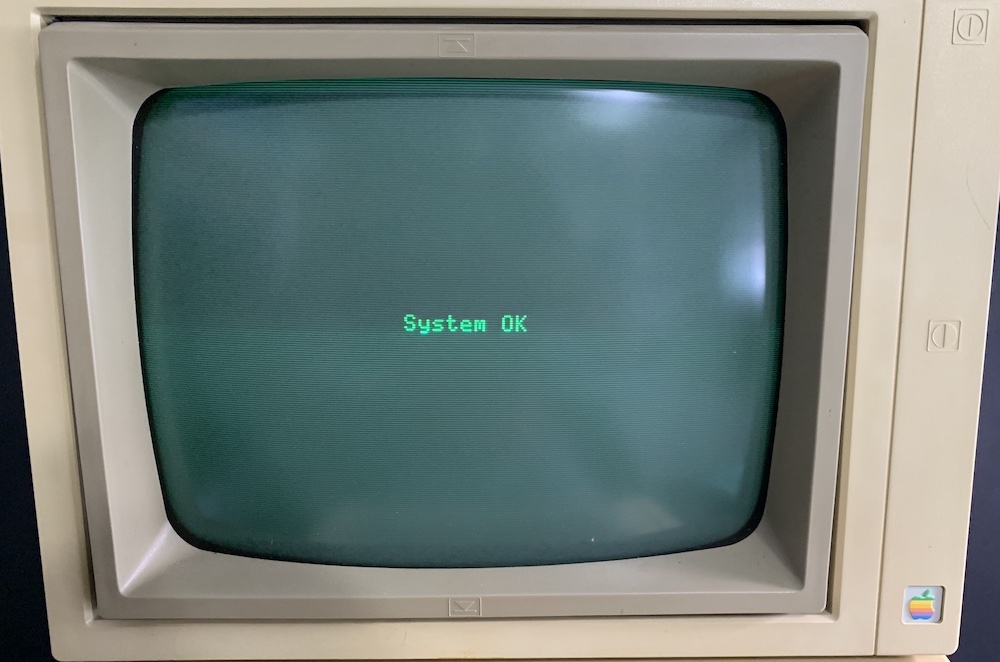
I plugged the system back in, flipped the power switch, and immediately heard the system beep which was a great sign that I didn't brick it. I reset the system holding down the diagnostic command and the screen showed nothing but garbage characters for about a minute. Before the repairs it would fail with the RAM error almost instantly, so I was both optimistic and yet filled with dread at the same time. Finally after what felt like minutes, there was a chime and it displayed 'System OK'. I pumped my fist and let out a big sigh of relief.
Everything was working perfectly, most of the disks worked great, although a few of them did have some read failures as expected, but the last test was possibly the most crucial - The Oregon Trail. I ordered a copy off eBay and had it on the shelf waiting for the repair to be completed. I inserted the disk and got ready to travel the trail like I did in grade school. The system read the disk, and everything looked great. I set out on the trail and promptly drowned two people at the first river crossing, but I still considered it to be a big win.

My Apple IIe is running like a champ, and I am so happy to have it in my collection. It was the first computer I interacted with as a child and I've long held very fond memories of my time with it. I want to play some classic games, dive deeper into BASIC, and use the system more so next up is purchasing a floppy and hard disk emulator which lets you use an SD card as a virtual disk/hard drive. Bonus: it will work with my new Macintosh Plus as well, but, more on that system later.
Resources
Surprisingly the Apple II community online is absolutely thriving, and there are a multitude of amazing subreddits, websites, and blogs dedicated to these wonderful machines. My favorite resource that I have come across is Adrian's Digital Basement. His YouTube channel is fantastic for anyone interested in vintage computing. Big shout-out to him, his videos are great, and it's a lot of fun watching him work on all the old machines I loved growing up.
I'll be sure to post more on this and other vintage machines I have here at the house, so stay tuned!